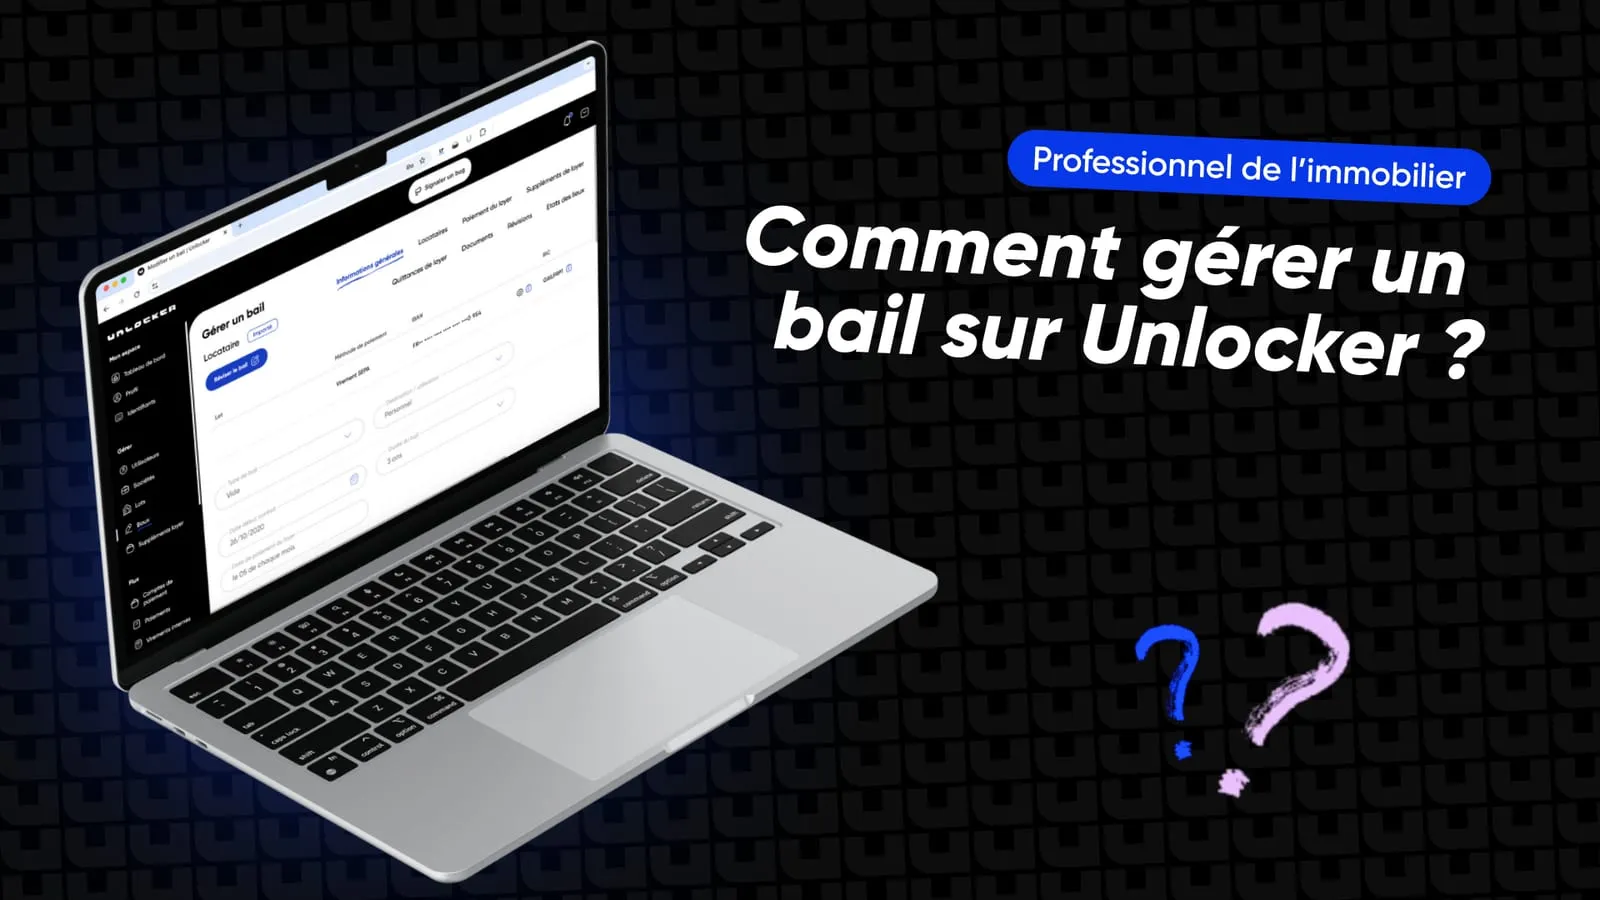
How do you create your first lease on Unlocker?
Transcript
Hello everyone! Today, I’m going to show you how to create your first lease on Unlocker.
Before you create a lease, you need to add your tenant and the unit in question, so you can link them to the lease you’re about to create. You’ll find links to the tutorials on creating a tenant and a unit in this video’s description.
First, go to your dashboard and open the “Leases” section, then click “Add a lease”.
You can either create a new lease, which will be signed electronically right on the Unlocker platform, or add an existing lease by importing it. I’ll show you both options.
Let’s start with creating a new lease.
The label is an internal reference that helps you find this lease easily in your database, so it’s an important title.
You can now add as many tenants as needed. If the tenants have already been created, you’ll find them in the drop-down menu.
Next, link a unit. Likewise, if the unit has been created, it will appear in the drop-down menu. You can swap the unit if you make a mistake.
For the purpose of use, you can choose between three options. For example, a commercial space will usually be “Professional” and an apartment “Personal”.
The rent and service charges are filled in automatically from the details of the unit you created earlier. Be sure to double-check these amounts. If there’s an error, you can fix it directly in the unit’s record.
Then you can set how often service charges are reconciled: every 1, 2 or 3 years.
For the lease start date, enter the exact date of the lease, not the date it was created on Unlocker.
The rent payment date lets you pick a day between the 1st and the 27th of the month.
Also remember to check whether the property is in a high-demand area (zone tendue, a large urban area where the rental market is especially tight).
You’ll then see a preview of the lease, with all the information from the unit you created.
This preview is the lease exactly as it will be submitted for signature. Of course, you can edit it or add information at any time. For example, if you want to include agency fees or leasing fees, you can do it here by writing “Leasing fees/agency fees payable by the tenant: (enter amount)”.
When you’re happy with the lease, click “Create the lease”.
Once the lease is created, it’s automatically sent to the tenant or tenants for electronic signature. After it’s signed, an electronic signature confirmation is sent directly to the landlord. On screen, you can see the email address used to send the lease signature request: no-reply@unlocker.io. Be sure to check your spam folder if the email doesn’t show up in your inbox.
Now that we’ve seen how to create a new lease, let’s move on to adding an existing lease by importing it. The steps are very similar to creating a new lease. You just fill in the same information: add the tenant or tenants, link the unit, and enter all the details on rent, service charges, and so on.
The only difference is the step where you import the existing lease. Once that’s done, you can save your changes and your lease will be imported.
Congratulations, you’ve created your first lease! Be sure to check out our tutorial on managing leases, linked in the description. Thanks for following this tutorial. If you have any questions or need help, our team is here for you. See you soon!