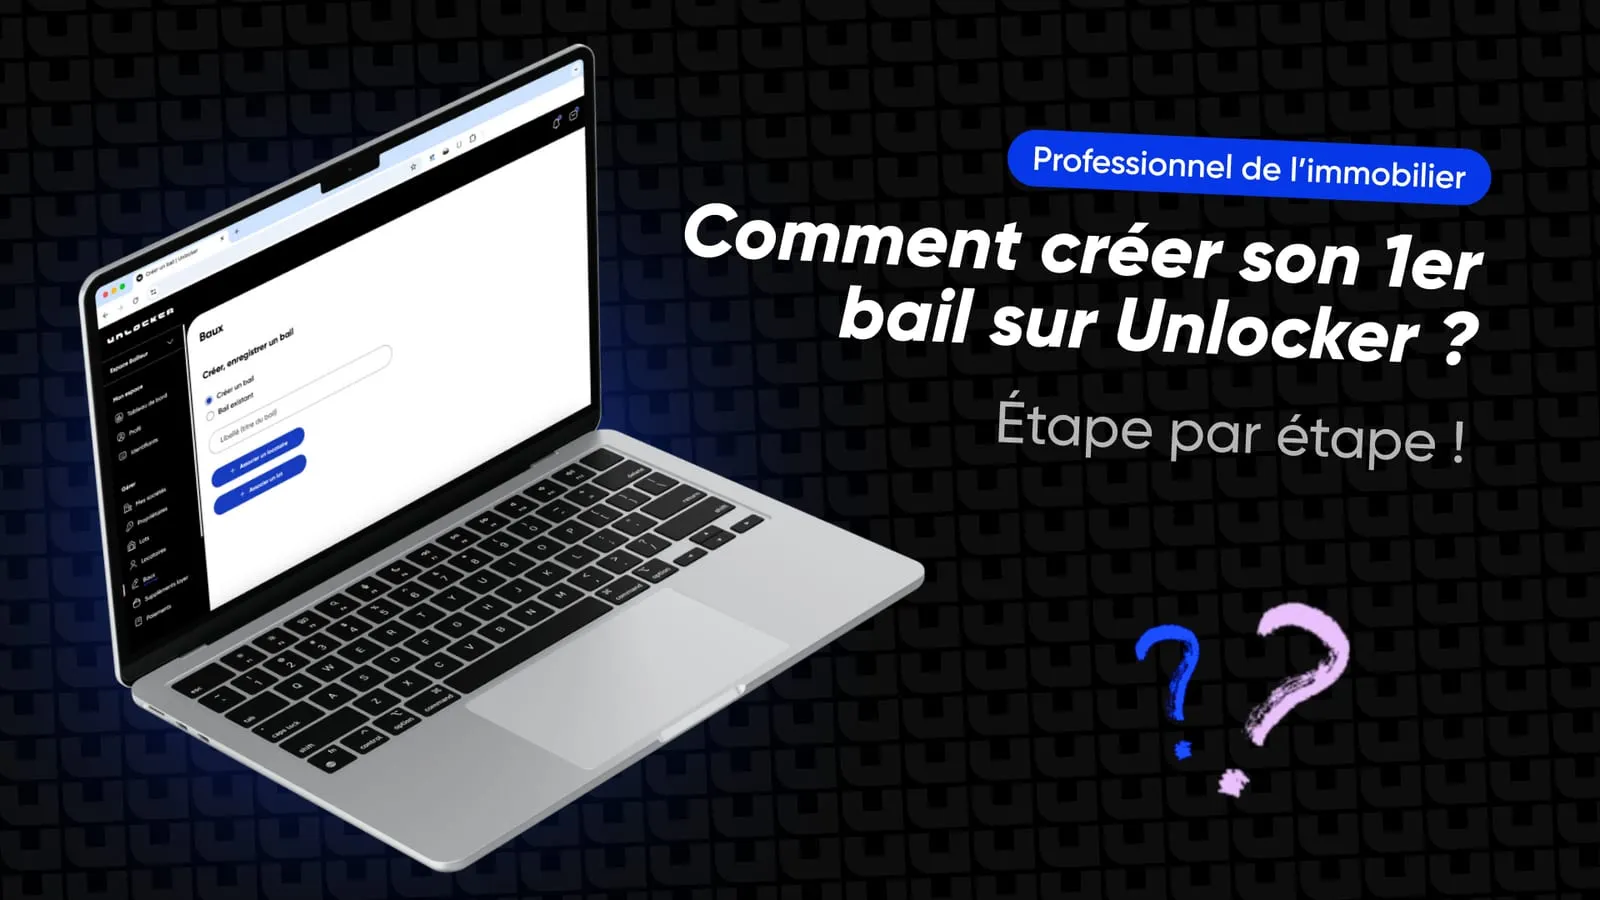
How do you add your first tenant on Unlocker?
Transcript
Hello everyone, today I’m going to show you how to create your first tenant on Unlocker.
First, log in to your dashboard and go to the “Tenant” section on the left of your screen, then click “Add a tenant”.
At this step, you can enter all the information about the tenant.
The beneficiary number is optional, but if the tenant receives housing aid, such as from the CAF (France’s family allowance fund), you can enter that number here.
On this screen, you’ll notice that some tenants are marked “under delegation”. That means the tenant hasn’t yet clicked the invitation sent by the property manager. When a tenant is marked “active”, it means they’ve accepted the invitation.
Once the tenant is created, you can click the three dots next to the matching lease. From there, you can either end the lease or, by clicking “View”, open the general information you’ve filled in. You can also add all of the tenant’s documents, such as their ID card, pay slip, bank details (RIB), and so on.
The agency can upload these documents, but the tenant can also do it on their own through their own space.
In the “Signed document per unit” section, you’ll find the lease once it’s signed.
Congratulations, you’ve created your first tenant! You’re now ready for the next step: the lease. Thanks for following this tutorial. If you have any questions or need help, our team is here for you. See you soon!